Tuesday, July 19, 2011

Time to Play with Our Food

Time to combine two of my kids' favorite things:  finger painting and spaghetti.  It adds a fun twist to normal everyday finger painting.


Next time you break out the finger paint, just boil up some spaghetti noodles (or use leftovers from last nights dinner) and add it right into the paint.  Since its summer, we decided to take ours outside into the grass.  I put a couple of big pieces of paper on the ground with some bowls of different colored spaghetti paint.  The kids had so much fun painting with this mixture.  They experimented with making fun shapes on the paper by rolling it and throwing it (and my daughter even found it amusing to paint herself with the spaghetti).


When they were finished with the painting (which was a good hour after they started), we decided to make some spaghetti art.  I cut off little pieces of aluminum foil and placed them on the table. Then each kid took handfuls of spaghetti and arranged (or threw) it onto a piece of foil.  I had to join in on this part and make one too :)  When they were finished, I placed the foil with the art in a spot where it wouldn't be bothered and let it set for two days until it hardened.  Then, I gently pulled away the foil, added a piece of ribbon, and hung them from the kitchen window for us to enjoy!  I think we may make some more around Christmas for the Christmas tree.

This project was double the fun.  And the advantage of doing it outside during the summer, when they were finished they just jumped in the baby pool and washed themselves off.

Sunday, June 26, 2011

Best Part of Summer: Butterflys

So why not raise your own??  I must say, we had so much fun checking on these little guys everyday. 

For my son's birthday this year, we decided to get him a butterfly kit.  They sell them at most major toy stores and online.  Here is the one we did:  http://www.shop-insectlore.com/Butterflies/Butterfly+Garden+Shipped+with+Live+Caterpillars.axd

Now don't get yourself all excited thinking there are live bugs in the kit.  The box acutally comes with just the butterfly house and a certificate that you take online to order the actual caterpillars (I suggest ordering the bugs before you give the kit to your child because even though it only took a few days to get them in the mail, boy was that a long few days for my kids to wait!)  Once you get your caterpillars, you get to watch them grow and grow and grow.  Its pretty amazing how quickly they get soo big! 

After that they go into their cocoons, and then after a little more waiting......  YAY BUTTERFLYS!!  We were glued to the butterfly house for weeks.  The kids loved that they got to feed the butterflys flowers and sugar water everyday.  They never missed a day...  And if they had it their way, we would have fed them every hour. 

The hardest part of the whole experience was convincing the kids that we needed to let the butterflys go.  We watched them a week, and they finally agreed it was time.  We found a nice flowery spot and said goodbye.

This little guy tried to hitch a ride back in the house on my husband's hand.

Monday, June 20, 2011

Free Home Depot Fun

So, as a lot of us already know, Home Depot has Kid's Workshops the first Saturday of each month.  I have wanted to take the kids for awhile now, but just never got around to it.  Ok, honestly, I was a little afraid it may be too much for my 4 and 1 year old, plus I wasn't sure how it all worked, so I kind of put it off.  But my husband and I finally decided it was time to try it out, and I'm so glad we did.  For those of you who have also thought about it but weren't sure what to expect, here ya go:

1.  Its completely free.  For the cost of $0, your child gets a Home Depot apron and a cute little kit to build something wooden (something different each month).  They have all the supplies set-up, ie hammer, glue, nails, whatever you need.  There are little tables set-up with little chairs (or in this case, 5 gallon buckets which, by the way, are the perfect height for little ones to sit on).  And when all finished with your project, your child is given a little pin-of-accomplishment to put on their apron.

2.  The projects are pretty easy; even my almost-2-year-old did a great job.  Both kids had a blast.

3.  I'm the kind of person who likes to just jump in without instruction, and thats what this is.  The employees hand you the project and only help if you need it.  It was nice being able to sit with my kids and go at our own pace with our set of instructions.  We didn't have to keep up with anyone else.

In conclusion, if you are looking for a fun, free, activity that you and your child can enjoy together, make sure you hit-up the Home Depot Kid's Workshops.  Just check their website to see dates, times, and upcoming projects.

Sunday, March 6, 2011

The Story of the Story Book


This project all started because I decided to actually sort through junk that has been accumlating in my house.  As I'm trying to throw away all my outdated magazines,  my son started flipping out.  He wanted to know why was getting rid of such cool pictures.  He had a good point.  So, to keep him from melting down we decided to do a fun little project.  He and I created a book from all his favorite magazine pictures, and he narrated the pages for me.  It turned out to be such a great experience for both of us!  Here is what we did:

We grabbed the scissors and started cutting out all the pictures he liked (good thing we bought new safety scissors this week).  We took the pictures, arranged them on the table, grabbed a glue stick, and he went to work sticking them to blank paper.  Then came my favorite part!  One-by-one we went through the pages and Russ told me what was going on each page while I wrote it down.  He created some cute little stories.


Then we decided to professionally bind the book.....  Ok, not really.  Instead, to make the front and back cover, I took two pieces of cardboard, covered them with white paper, and duct taped around the sides (yes I know, there I go with the duct tape again).  I put the pages we created into the covered cardboard, punched holes, and tied it together with ribbon.  He named the book, I wrote it on the cover, he did some final artwork, and we were finished. 

I can't tell you how excited my little one was when we got in bed last night, and he was able to read his own little book.  This is definately a project I recommend everyone try.  It is sooo good for the imagination!

Tuesday, February 22, 2011

Newspaper Beads

Let me tell you the reasons I love this project:
1.  It was something my son and I did together, and we both had fun.  2.  It was a great way to recycle some old newspapers.  3.  It makes a really cute gift for your little one to give to Grandma for Easter.  And my favorite reason, 4. My heart melted when my son told me he wanted me to have it because it would look so pretty on my wrist. xoxoxo

The only bad part about this project:  It takes a few days to complete it because you have lots of drying time.....

Mommy & Kid Part:  Start of by taking a newspaper and tearing it into small pieces.  You can also use the old sales ads that come in your paper.  My pieces ended up being anywhere from quarter sized to candy bar sized.  The smaller the better.  Ya know, I'm amazed at how much kids love to tear up newspaper :) 

Here is an adult part:  Take your cut-up newspaper, and put it in a large pot.  Boil some water and pour it over the newspaper.  You'll want enough to cover the paper.  Then, put the lid on the pot and leave it sitting for an hour or a little more.  You'll want to stir it every now and then.  The goal is to have the paper break up into a nice mush.


Once you get this beautiful mush, you want to drain out the water.  You can do this using a collander if you want, however, I found it was easier to take handfuls, squeeze the water out, and then put it in another bowl.  When the excess water is out, mix in some Elmer's glue to help hold the paper together.  Just guess on the amount.  I used about 8 pages of paper and maybe 1/4 bottle of Elmers.  There is really no exact science to this part.  Heres my warning:  Your hands are going to be black when you are done!!  Don't worry though, it washes off, but be careful not to get it on your clothes.  I also suggest washing your pot as soon as you are finished because the inside will be covered in black also (don't worry, it washes out).

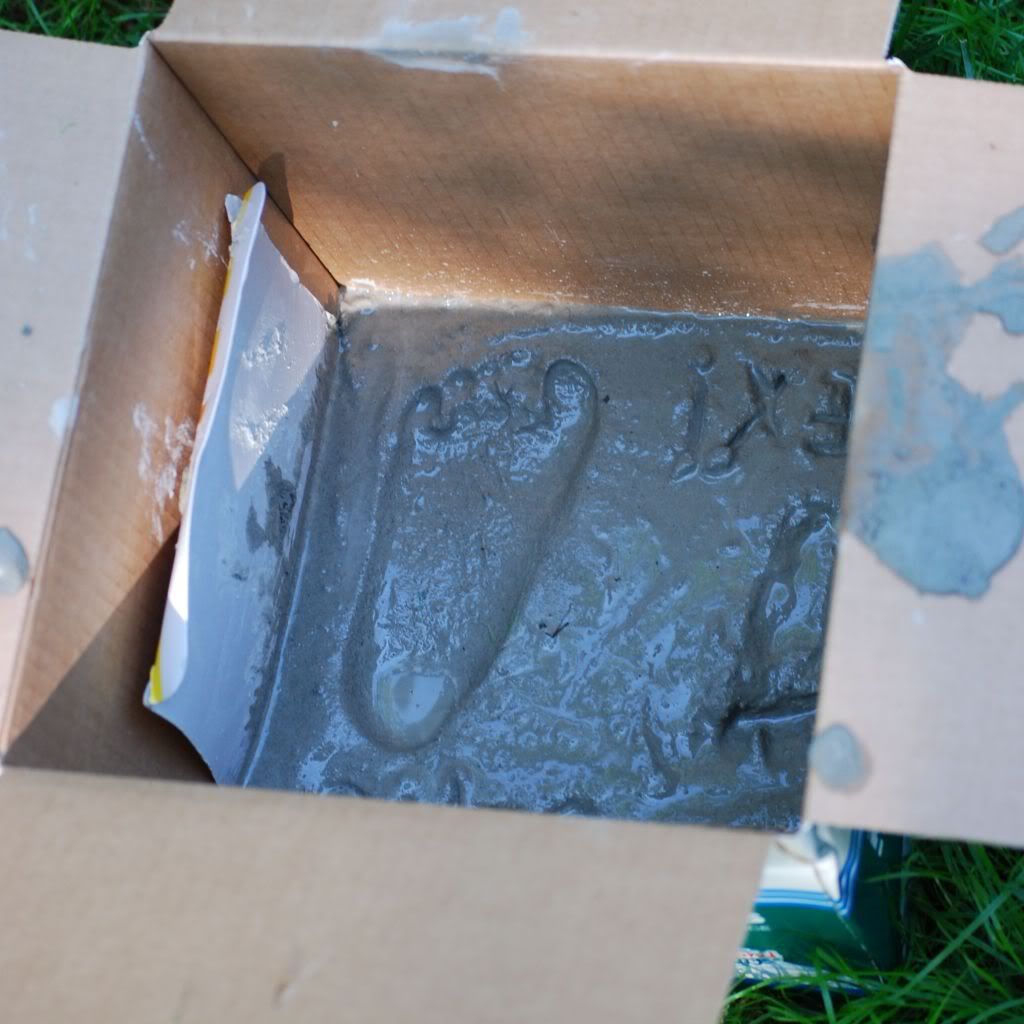
Alrighty, next is another Mommy & kid part:  Its time to form the beads.  Take out small amounts of your mush and roll it into balls.  Try to squeeze out any extra water as you go.  My son didn't get the "squeeze the water out" concept, and his turned out fine, so don't worry about it too much.  I will say, shaping the balls is a little harder than I expected.  You can't really roll it out because it breaks apart a little.  It just takes lots of squeezing and hand-shaping.  Have fun with it!!  Make some squares, balls, flat round discs... whatever your little hearts desire.
Here is the rough part:  Once you get your beads all shaped, put them on a piece of aluminum foil or wax paper and wait for them to dry.  Its gonna take two to three days for them to dry out completely.  I hate waiting, but ya gotta do it.  When they have completely dried out, it will be pretty obvious cause they will be super light.

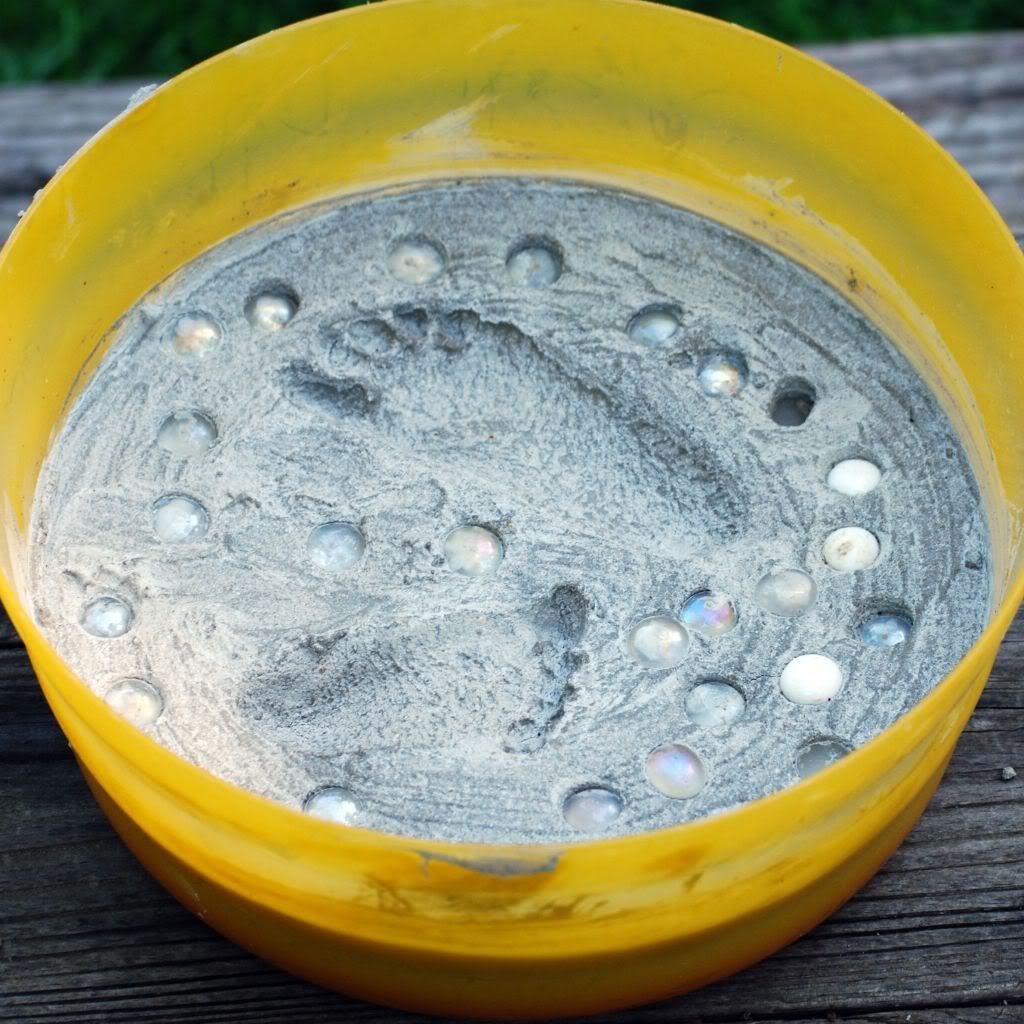
Now that the beads are dry, drill a hole thru each bead.  Then you can either paint them as they are, or you can sand them down a little with sandpaper or an emory board.  The will not be pefectly smooth; they actually have a natural rock kinda look.  They would probably look pretty cool painted to look like turquoise or something.  But my kids just went crazy painting all different colors :)  Hint:  You may want to put wire thru the beads before you paint them or you may paint the holes shut.  Not a big deal, just makes it a little harder to find the holes when you string them. 

After the paint has dried, spray them with a gloss finish, string them, add a hook, and wear them!!


Friday, February 11, 2011

Breathe New Life into Unwanted Clothes

Living in a town with no fabric stores has taught me to get creative when looking for material.  I don't always feel like driving 35 minutes to get to a fabric store, so I found a new way to find what I need:  thrift stores and yardsales. 

Yes, I know they don't typically sell material, or do they?  As I walk thru the store looking up and down the racks, I switch my brain over from thinking "Wow thats an ugly dress" to "Wow thats some nice material in that dress".  Its amazing how different things look when you look at it thru different eyes.

Example:  I was at a yardsale this summer and the clothing was fill-a-bag for $1.  The clothes were pretty old or just not my size or style.  However, they had some great prints in them.  So, I filled a bag with a bunch of stuff, and in the end, I paid about $.10 per piece.   Here is the first adult sized (not my size) skirt I bought:

I cut it into pieces and added hems.  The top piece I cut and sewed to where the zipper could still be used.  The second, I just added elastic to the top for a waistband.


Here is the second skirt I came home with:

This skirt had an awesome waistband that I thought would work perfect for a dress top.  So, I measured the length & top, marked it, cut, and sewed a seam down the side.  I used the left-over bottom piece to make two straps and attached them to the top.  Here is how it turned out:


Next time you're at a yardsale and nothing is your size, flip your brain to fabric mode, and take another look around!! 


Wednesday, February 9, 2011

Because I Had to Use the Leftover Paint Swatch Pieces.....

After we made the Paint Swatch Monster Valentines, we had a bunch of little pieces of paper paint swatches left (these were the little pieces that we cut off after the cards were glued together that contained the names of the paint colors).  My son looked at them and said, "Now what are we going to make with these?"  I'm thinking he's been around me too long.  He kept arranging the tiny pieces next to each other, making pictures, and I realized that they looked like little mosaic pieces.  I dug thru the closet where I keep all the just-in-case-I-need-it stuff and found a clay flower pot!

Sooooooo..... Here is what we did!  I poured a bowl of decoupage glue, gave my son a paint brush, and let him glue the pieces to the pot.  I showed him how to take the smaller pieces and fill in the empty spots, and he did awesome!  After he was finished, we painted a coat of decoupage sealer over the entire pot to waterproof it and give it a glossy finish.......   LOVE IT!

Paint Swatch Valentine Card Monsters....


Happy Valentine's Day!!  Today we made Valentine's for my son's preschool class, and I have to say, I think they turned out super cute.  I wanted bright, fun cards, and I think we accomplished that.

For the card, I gathered up a bunch of paper paint swatches that I had been collecting each time we repaint a room (because of coarse I didn't throw them away when I was done).  I took two cards and glued them together, pretty sides out.  I started using hot glue, but found that spray adhesive worked better.  It gave a smoother finish.  And since it drys slower than hot glue, it gave me a chance to move the cards around until the were lined up correctly.

After they dried, I put them on the cutting board and cut off the part of the card that told what color the swatch was. That left me with a double-sided color card with nothing on either side. I then took my permanent marker and wrote Valentine greetings on one side, signed my sons name, and left the other side for monster-making.

So, next I gathered up some sticky-backed googly eyes and stickers.  For the mouth, I found some sticky-backed red craft foam and cut mouths of all shapes and sizes.  I put all the different supplies in piles on the table and let my son go crazy decorating the cards.  He got soo into making these monsters!


Once he was finished, we cut some yarn and glued it to the monster heads.  And of coarse, we made some with mustaches.  To attach the yarn, I used a decoupage glue so that my son could put the yarn on without burning himself.
And there ya go!!


Thursday, February 3, 2011

A Juicy Bird Feeder

With all the snow we've had lately, we've spent a lot of time staring out the living room window.  There have been soo many birds on our porch swing chains lately that my son decided we need to make a bird feeder.   After being snowed in for days on end, the craft supplies started running low (which is good because now I get to restock), so we hit up the recycling bin.... again.  We found an orange juice carton that was just perfect for our project. 

So, I started by drawing a square on each side of the carton where we would cut the holes for the birds to eat out of.  I started the hole, then gave my son the safety scissors and let him cut them open. 

Next, let your kid go paint crazy :)  Just a hint, paint the carton with a coat of white or other solid color and wait for it to dry before doing the other colors.  The words on the carton are hard to cover, especially if you let your little one use washable paint.

Once its dry, find a nice stick to use for a perch.  To attach it, put a hole just under the window on each side, and stick the stick straight thru.  Now, put two small holes in the top so you can run a string thru for hanging.

And now hang your bird feeder, and wait for the birds to come!  I really wanted to wait for a bird to land on it for the final picture, but I'm impatient; I'll just add that picture later :)


Tuesday, June 22, 2010

Fathers Day Stepping Stones

I tried to dream up something new and exciting for the kids to make for a Father's Day present this year, but I've been so busy that I just came up with nothing. So, I decided to do a craft that I've done before, pre-children. We made concrete stepping stones that daddy could put in the garden.

I went searching in the shed for the mold that I used before, but I couldn't find it.  I didn't want to buy a new mold, so I improvised.  For one stone, I used an old plastic bowl that I didn't use anymore (cause I left it outside after a cookout and never got around to taking it in).  If you actually put your stuff away and don't have any old ones laying around, just go to the dollar store and get one.  Its much cheaper than buying the "stepping stone mold" from the craft store.  For the other stone, I used a cardboard box.  .

Wall

Grateful
Instead of buying the bag of stepping stone mix, I used some left-over concrete/mortar.  You can actually buy a bag at your local home improvement store for about $6.  This is a huge advantage over the kit at the craft store.  The craft store bag makes one 12 inch stone or two 8 inch stones.  The mortar from the home improvement store will make billions of stones (ok, not billions, but A LOT). 

Mix up some concrete and water to a brownie consistency.  Then, pour it into your molds and smooth it out.  Let it set for a couple of minutes, then let your kids decorate.  I decided to do my kids footprints.  In one, we used stones that I had left over out of an old vase of flowers.  I don't have a picture of it, but for one I used stones left over out of an old fishtank.  You could also use rocks from the yard, left-over nuts and washers, cut-up straws, just whatever you find laying around.
Another option, we had a bag of sand left-over from the sandbox, so I cut the top open and had the kids step in it.  When they picked up their feet, their foot-print was left behind. So, I filled the footprint with mortar, let it hardened, and pulled the hardened form out.  It made a foot-shaped stone.

Let your stone set-up about two days and there you have it!  Between pouring in the ingredients, mixing it up, pouring into molds, adding embellishments, and stepping into wet concrete, my son loved this project!

Friday, June 18, 2010

Alexa in Wonderland - Little Bit of Ranting

As some of you know, my 10 month old pulled an Alice and tried to take a trip to Wonderland yesterday.  We were hanging out in my yard, which is on a mountain in the woods, and she was just crawling around as always.  I was in the middle of the yard helping my son with something and in the 2 minutes I looked away, she made her way to the edge of the trees and had eaten a wild mushroom or two and was about to eat another.  So, I scooped her up, ran in and called poison control, and rushed her to the ER.  After 6  hours of observation, we were released to go home.  We got lucky, and she was perfectly fine.  Other than the thrill of trying to entertain a 10 month old in a small hospital bed for 6 hours, the the hospital stay was uneventful.

Now for the reason I feel I need to share this; I was treated by multiple people like I was a bad mom!!  Really, am I the first person who has turned their head and had their kid get into something they shouldn't have??  I mean, I could have her in the middle of an empty padded room and she would find a way to hurt herself.  If she was in a warehouse filled with cotton candy and chocolate chips, she would find an exposed piece of floor tile and eat it.  The doctor asked me what happened, so I said that I looked away and before I knew it she was across the yard eating something.  The doctor actually said to me, "So, where you hanging out talking to friends and just not paying attention?"  OH MY!!  ARE YOU SERIOUS!  Where the heck did that come from.  Then I was asked what time it happened and I told them 11:20.  Poison control basically called me a liar and rudely told the doctor there was no way it happened at 11:20 because I called them at 11:15.  So, I was 5 minutes off and that means I'm trying to hide something???  So, next time your child cuts a finger, don't pick them up and stop the bleeding.  Run in the house and document the event complete with the exact time while they bleed profusely, then go stop the bleeding (Ok, maybe I'm being dramatic there, but thats how they made me feel).  And on top of these people (not the word I was looking for, but it works), I had non-employees (and thats what I'll call them) tell me that I need to watch my children better.....  Shaking my head....

My children gnawl on bugs, dog food, paper, the furniture, my leg, and anything else they can get in their mouth.  So, all you super-moms out there who never take your eyes off your children and whose children have never gotten hurt or eaten something they shouldn't have, would you please give me lessons??  Ok, I'm over it now!! :)

Sunday, June 6, 2010

From Christmas Tin to Travel Bin

I was cleaning out a cabinet the other day, and I found this tin that someone gave me full of cookies at Christmas.  Well, you know I can't just throw something like this away, so I put it on the counter and decided to use it to hold all kinds of fun stuff for Russ to use while we are in the car. 

I decided that I would paint it (so it didn't look so Christmas-y), and immediately I thought of the left-over chalkboard paint hiding in the back of the closet.  So, I took some sandpaper and buffed it to make the paint stick better, and then I grabbed the chalkboard paint and  painted the lid while Russ used craft paint on the rest of it (I can't paint without him).  I used the chalkboard paint on the inside and the outside of the lid. 
 
After the lid was painted, I thought it looked like a road, so I painted some yellow lines on it.  Then, I went digging through Russ' room and found a few little plastic cars we won in the arcade.  I took a strip of magnet, cut small pieces, and stuck them to the bottom of the cars.  Now, I had a racetrack with cars that would stick to the tin so they wouldn't fall off and get lost.
The only thing left to do was fill the little travel kit with fun stuff (including chalk, fruit snacks, pad and paper, etc.) and put it in our car.
I'm really happy with what we ended up with, and my son has really enjoyed having something new to play with in the car!!
(Wanted to say he doesn't have his seatbelt on because this was a staged pic in my driveway.  Notice the open door.  hehe)

Thursday, June 3, 2010

Easiest Teether Ever

I was blog-surfing earlier today and saw the cutest little teething ring ever!  Its a wooden ring with pretty fabric and ribbons attatched around it.  I knew this was something that my little one would love to play with; she loves ribbons and tags, and the wooden ring just looks like it would feel good on her little gums. 

Well, I happened to have a bunch of wooden rings in my craft closet (I think there is a little bit of everything in there), so I decided to make one.  Because I already have too many projects going on right now, I decided to simplified mine a little (if you want to see the much cuter inspiration, check them out over at Patchy Apple).

So anyway, here is what I ended up with.
Basically, I took an unfinished wooden ring and tied little pieces of ribbon all the way around it. (You were right, Abbie.  There was a use for all those little pieces of ribbon left over from making hairbows).  I tied the knots as tight as I could get them, then I grabbed a needle and thread and stitched them so that they would stay put.

AND THATS IT!!  Told you I did it the simple way.

Now I know this isn't the prettiest thing in the world, however, my daughter is in LOVE with it!! She wouldn't put it down.

  I think I may make a couple of extras and keep them in the car and diaper bag.

Wednesday, June 2, 2010

Hello Mr. Sewing Machine

After monthes of closet time, I finally pulled my sewing machine from the closet and got it all set up.  Its been away partly because I hate dragging it out, setting it it up, and having to keep the kids off of it, then putting it right away (since I have no sewing room, I use my kitchen table) and partly because I lost the cord for awhile. 

I've made the most of this time together with my machine and have kept myself sewing most of my spare minutes the last few days.  Spare minutes with these two rugrats are few and far between, but I've managed to get some time in. 

I have a babyshower to go to this weekend, and I wanted to make a few gifts for the soon-to-be-born little boy.  I went with the kids to the fabric store and let Russ pick all the fabric.  I think my 3 year old has a knack for this because I love all his choices.

So, I figured I would share a little of what I've been working on.

Here is the first set I made.  Russ picked out the animal print and I picked the material for the back.
And of coarse Russ had to get some John Deere material.
I thought this one would be cute for the 4th of July (even thought the baby won't be born until August.  He can wear it next year).
And of coarse I had to make something for Lexi!!

I made a few other things that need a little finishing up.  I made a couple of things for me, a few for my kids, and a few because I don't know why.  Hopefully, I might get some more pictures up soon.

Sunday, May 30, 2010

Back from Vacation

I'm back!!  I had a week of two sick babies, a sinus infection for myself, but then it was all better because we went on VACATION!!
We spent a week in Ocean City having lots of family fun.  We did the beach, hit the carshow, saw the wild ponies,
walked the boardwalk, had my favorite ice cream, 

did some crabbing
and had lots of family fun-time!!
We had a great time!  I had soooo many fun ideas pop in my head over the past few weeks that Russ and I will have lots of stuff to keep us busy.  Can't wait to post!!


Monday, May 3, 2010

The Cozy Cone

My son is soooo into the Disney Cars movie;  I think we watch it at least 4 times every week.  Whenever we go out, we keep our eyes out for anything from the movie that he doesn't have yet.  So, today I was at Target looking through the dollar section, and I got excited when I saw a 6 pack of orange cones.  I immediately thought COZY CONE MOTEL. 
I bought the 6 pack of cones and went home and got to work.  Ok, I didn't do too much work, it was pretty simple.  But when Russ woke up and saw what I did, he was literally screaming with excitement!

I took the cones and cut an opening in the front measuring approximately an inch and half by an inch and half.  On some of them, I cut across the top of the opening so that there was a square door hole.  On others, I just cut up the two sides and then folded the flap up to form a porch.  Be sure to cut slowely and carefully or the plastic will crack (thats why there are 4 Cozy Cones instead of the 6 that came in the pack).

After that, I just took a permanent marker and drew on some room numbers and windows.

And there you have it, the COZY CONE MOTEL!!